Although you may not pay them much attention, walls are some of the most crucial puzzle pieces to keeping a clean and sleek aesthetic going. People tend to overlook them when they’re cleaning, but once the walls start to look less than stellar, suddenly, the whole internal visual starts heading on a downward spiral.
Do you clean your walls regularly? Have you ever cleaned them before? If not, at least the fact that you are reading this means you are interested in getting started and you’d like to know what you need to do.
By taking on this cleaning exercise, you fight dust, dirt, grime, mould, or anything else that could potentially build up. The commercial cleaning process used here consists of six easy steps for you to follow.
Note that there are other ways to go about cleaning walls, but this one is incredibly effective.
Step One – Preparation
Preparation here is two-fold. First, there’s the matter of wall accessibility, and second, you need access to various supplies. Don’t get into the habit of cleaning only the visible and easily reachable parts of walls. If you do that, whenever you do decide to clean the rest of it, it may become impossible for you to do a good job.
Move whatever furniture and other obstructions you have away from the walls so you can clean them freely. Second, grab a bucket, liquid soap or vinegar, towels, sponges, dust gloves, a broom or a vacuum cleaner, a ladder, and some dust cloths. Gloves are not a necessity, but wearing them is never a bad idea.
Step Two – Dusting
Before you apply any liquid treatment, you want to remove any loose dust and dirt, as it makes for a much smoother experience. You want to use your broom or vacuum cleaner here and pay attention to the corners. This is also a good time to get rid of any cobweb build-up that you may notice.
When you’re finished with your broom or vacuum cleaner, go over things with one of your dust cloths.
Step Three – Cleaning Solution
If you are using vinegar, you want to get a gallon of water and mix five tablespoons of your white distilled vinegar with it. If you’ve chosen liquid soap, then get half a bucket of water and mix in five drops of the soap.
Note that if you are so inclined, you can also go the route of purchasing a pre-done cleaning solution.
Once you have your solution, you want to do a bit of a test. Dip your sponge in it and test it on a single spot. In doing so, you are looking for two things. First, you want to ensure that it’s effective at cleaning the walls, and second, it should not be so strong that it causes any discoloration or damage.
When you do your spot test, wait for things to dry before you draw any conclusions.
Step Four – Spot Cleaning

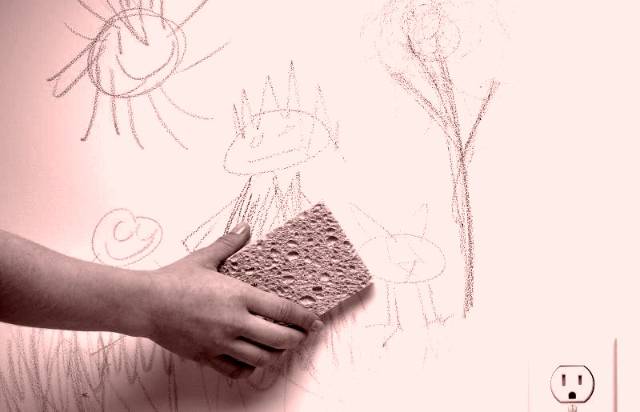
This is probably going to be your least favourite part of this whole process. Though you are cleaning the entire walls, there are going to be spots where there are stains, handprints, and other imperfections.
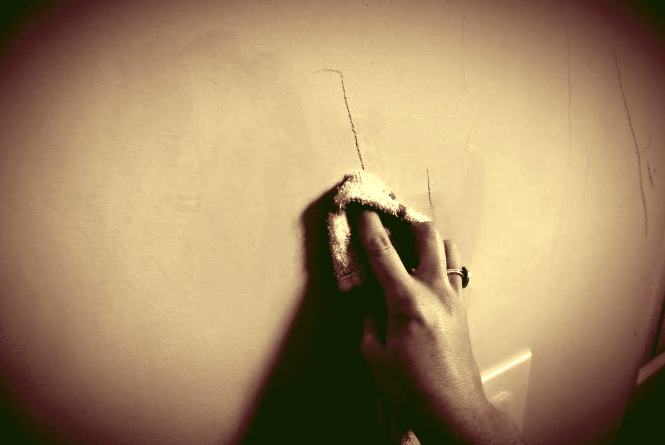
Doing a general wipe is not the most effective way to get rid of these, so you are going to have to start by spot cleaning them. Get a towel or soft cloth, dip it in your solution, and gently scrub away the stains.
Step Five – Wet Wipe
With the stains out of the way, it’s time to do this comprehensive wet wipe. Dampen your sponge and squeeze all excess water. From here, you simply start wiping the wall from top to bottom. You don’t want to bring the dirt from one area of the wall to another, so rinse your sponge regularly.
If you are concerned about dripping water on the floor, ensure to set something up to catch any excess drops. This could be cloth, towels, newspaper, etc.
You may notice water running down the walls, particularly if your sponge is not dry enough. If this should happen, grab a towel or cloth to wipe away the streaks, as they create the perfect storm for staining.
Step Six – Drying
Excess water does not always appear in the form of water streaks. Sometimes, a wall may appear to be fine but may have too much moisture on it. Once you are finished with your wiping process, grab a cloth or a towel and soak up any excess.
Once you’ve done this, you can let the air-drying process take things over. To this end, you want to open doors or windows. If you want to help things along even further, you can turn your fan on to speed things up. Naturally, ceiling fans are the most effective at this kind of process.
Quick Wall Cleaning Tips

Safe Cleaning
Remember that moisture makes some areas more dangerous than others, especially when electricity is in the mix. A good idea may be to turn your circuit Breakers off before you clean our own them and other electric implements.
Pay Attention to Finishes
You are expected to tailor the process based on the kind of finish you’re working on. Saturn, flat, and eggshell finishes are more delicate and require a softer approach. Scrubbing these too hard could remove paints, so don’t forget to be careful.
Regular Maintenance
This is not a process for you to do rarely. Ideally, you want to clean your interior walls at least once a month. However, if you find that impractical, then at least ensure you do so every two months.
Give high-touch areas the necessary focus. These include your doorknobs, light switches, mirror frames, etc.
Final Remarks
Now, you have a much better idea of what it takes to effectively clean your walls. Remember that the more you do this, the less you have to worry about stubborn stains taking shape.
If your interior appearance matters to you, then there is no better way to tie all your other efforts together than to have consistently clean walls. It can feel a bit mentally daunting to get into the frame of mind to pull this process off but think about the reward to get yourself going.

