You can read here many helpful articles related to commercial cleaning, latest cleaning news in Australia, including how to find and hire the best cleaners in your budget, how to train a commercial cleaner, why hire a cleaner over doing it yourself, cleaning tips for a specific area like supermarket, retail store, data centre, pub & restaurants, hospitals, factories, buildings, and more.
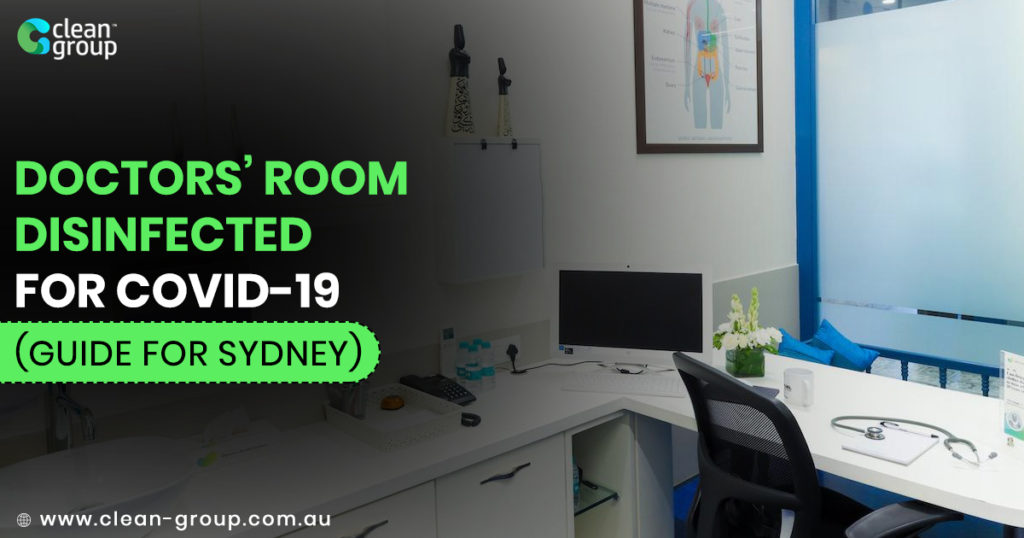
Doctors’ Room Disinfected for Covid-19 (Guide for Sydney)
Doctors, this blog post will provide you with a guide on how to disinfect your doctor's room for COVID-19 best....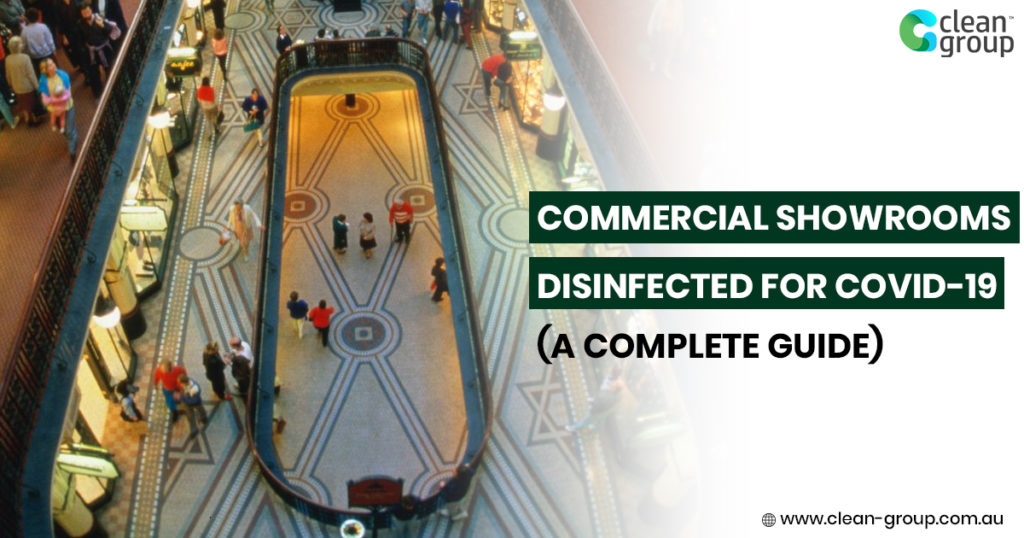
Showrooms Disinfected for Covid-19 (A Complete Guide)
Commercial showrooms are disinfected for covid-19 because of the recent outbreaks of this virus. We will go over what is...![Children’s Toilets Disinfected for Covid-19 [Great Listicle]](https://fd2a312c.delivery.rocketcdn.me/wp-content/uploads/2021/09/Childrens-Toilets-Disinfected-for-Covid-19-1.jpg)
Children’s Toilets Disinfected for Covid-19 [Great Listicle]
Do you have children? Do they go to school or daycare? If so, then this article is for you! In...![Children’s Play Area and Toys Disinfected for Covid-19 [A New Guide]](https://fd2a312c.delivery.rocketcdn.me/wp-content/uploads/2021/09/Childrens-Play-Area-and-Toys-Disinfected-for-Covid-19-A-New-Guide-1.jpg)
Children’s Play Area and Toys Disinfected for Covid-19 [A New Guide]
If you are a parent, then the thought of your child being exposed to the disease is probably on your...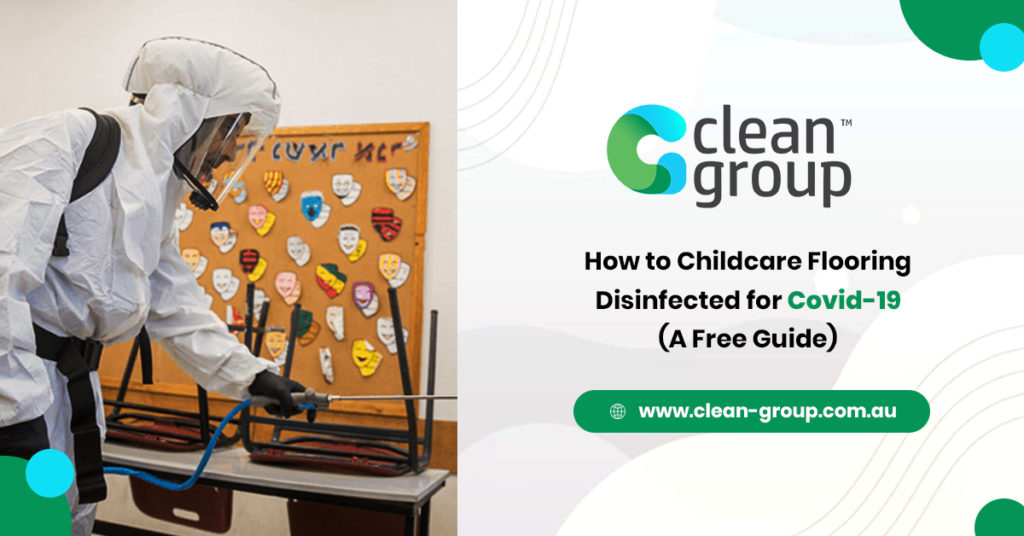
How to Childcare Flooring Disinfected for Covid-19 [A Free Guide)
If you're looking for a safe and clean environment for your children to play in, one of the most important...![How to Disinfect Car Seats for COVID-19 [An Definitive Guide]](https://fd2a312c.delivery.rocketcdn.me/wp-content/uploads/2021/09/How-to-Disinfect-Car-Seats-for-COVID-19-An-Definitive-Guide-1.jpg)
How to Disinfect Car Seats for COVID-19 [An Definitive Guide]
If you're a parent with children, then you know how hard it is to keep your house clean. It's even...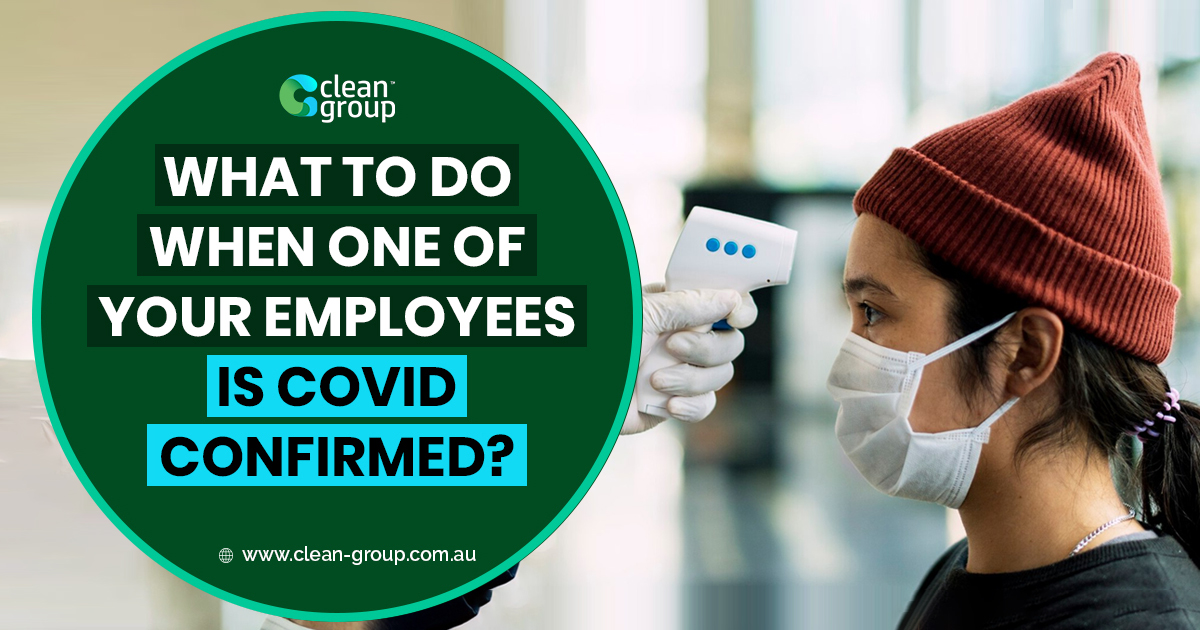
What to Do When One of Your Employees Is Covid Confirmed?
One virus, one disease, many variants, 4.5 million deaths, and still counting. That is the story of the Covid-19 that...
How to Disinfect Your Boat for COVID-19 (An Ultimate Guide)
It's been a long day, and you're finally back on land. You've spent the whole day disinfecting your boat, but...
Cleaning Services Guide – Everything You Need to Know About Cleaning
Cleaning has never been a more important service than it is now, and we are proud to continue serving Sydney...Everything You Need to Know About Sydney NSW
Everything You Need to Know About Sydney NSW Sydney is the capital city of New South Wales, Australia and is...
Covid on Different Surfaces and How to Clean Them
The world is in a pandemic situation and in the grasp of a deadly virus called coronavirus. From what is...
Covid-19 Disinfecting Safety Tips and How to Disinfect a Workplace
The viruses that cause COVID-19 are constantly changing through mutation, and new forms of the virus are expected to emerge....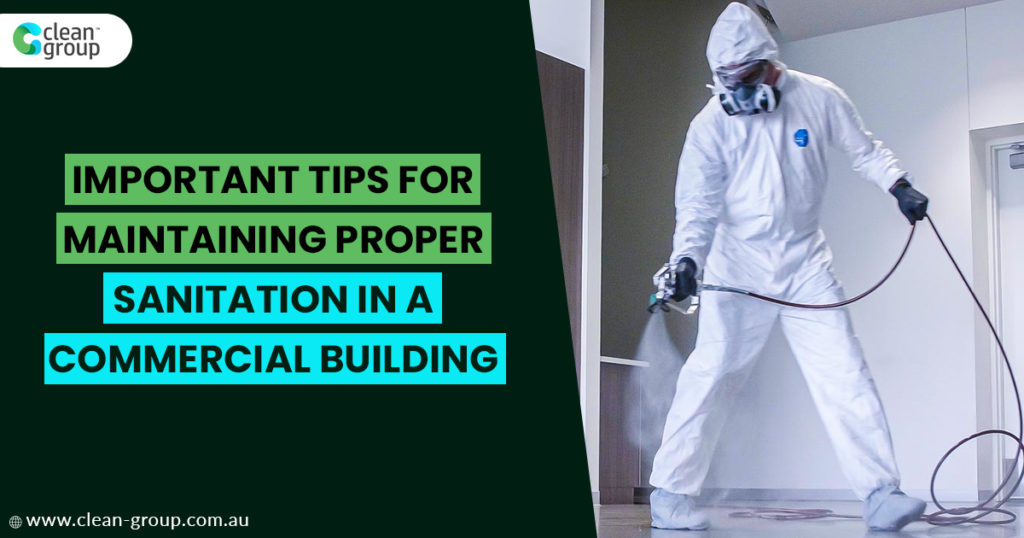
Important Tips for Maintaining Proper Sanitation in a Workplace Building
Cleanliness is essential, a clean environment makes people positive and happy. Even if the first impression is kept aside, health...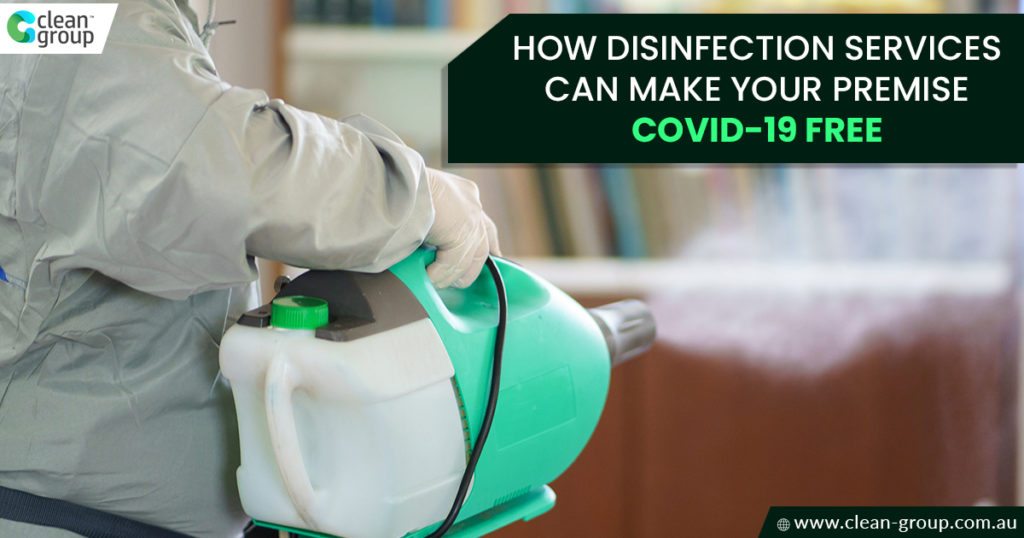
How Disinfection Services Can Make Your Premise Covid-19 Free in Sydney
Coronavirus (Covid-19) has been among us for the last two years. Governments of different countries are trying their best and...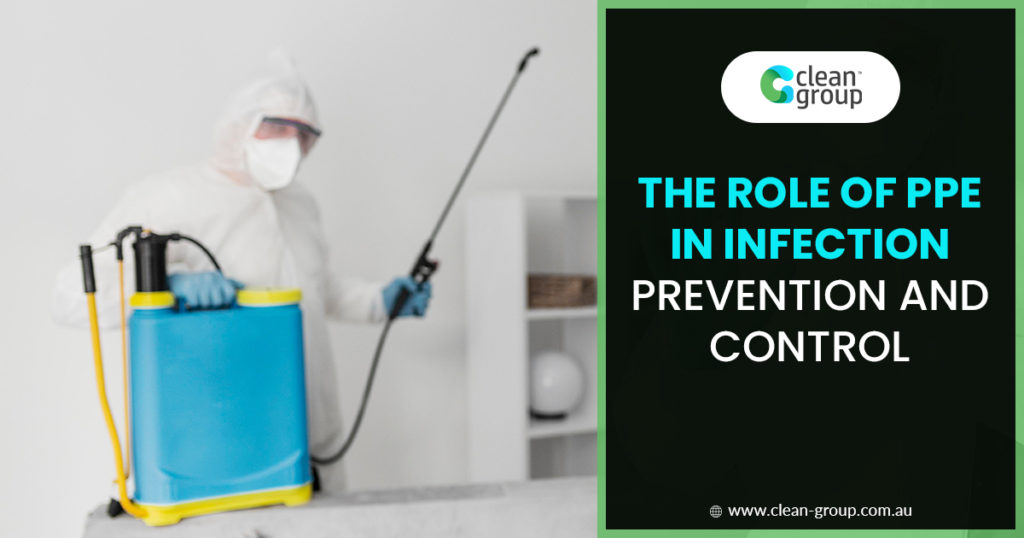
The Role of PPE in Infection Prevention and Control
An outbreak of the novel coronavirus disease now named COVID-19 was initially observed in mid-December 2019 from a seafood market...Contact Us
Do you wish your cleaners were more forthcoming and had a positive