You can read here many helpful articles related to commercial cleaning, latest cleaning news in Australia, including how to find and hire the best cleaners in your budget, how to train a commercial cleaner, why hire a cleaner over doing it yourself, cleaning tips for a specific area like supermarket, retail store, data centre, pub & restaurants, hospitals, factories, buildings, and more.
Why It’s Important to Clean Your Showroom Windows
Is your showroom window cleaning routine getting a little stale? We're here to fix that. Cleaning windows is highly important...
How to Pressure Wash a Workplace Building?
Washing a commercial building exterior is much work and typically takes days to complete. The extensive office cleaning includes power...
Worksite Hard Floor Maintenance Cleaning (A Complete Guide)
Hard floor maintenance is the key to keeping your hard floors in top condition. This blog post will focus on...![Workspace Furniture Cleaning and Maintenance [Great Listicle]](https://fd2a312c.delivery.rocketcdn.me/wp-content/uploads/2021/10/Workspace-Furniture-Cleaning-and-Maintenance.jpg)
Workspace Furniture Cleaning and Maintenance [Great Listicle]
When it comes to your workspace, you want to be sure that it is clean, organized, and safe. The keyword...
How to Clean a Worksite High Rise Building Properly?
A building is someone's home away from home. When you're at work, the building is where you go to make...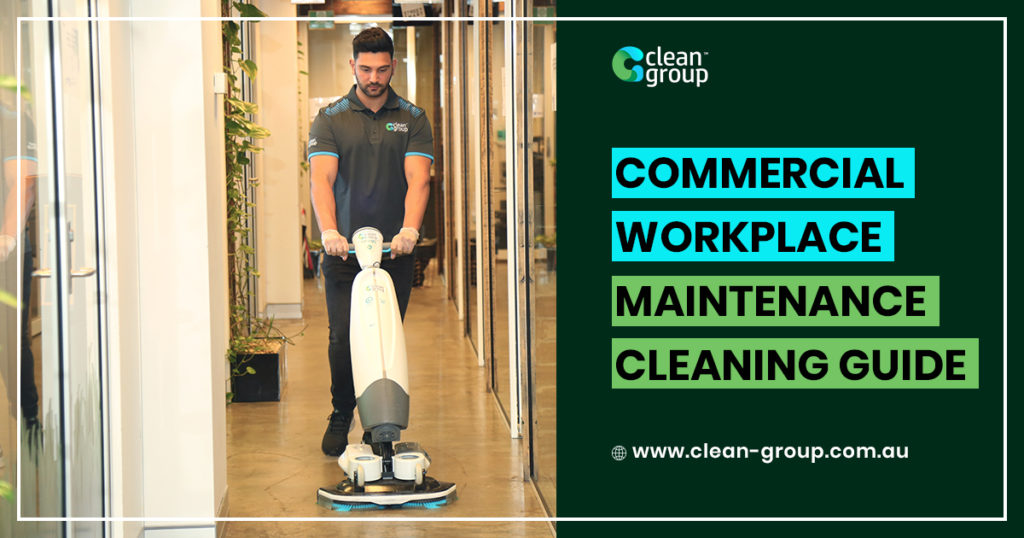
Workplace Maintenance Cleaning Guide
We all know that maintaining a commercial cleaning in Sydney is key for any business, but what are some of...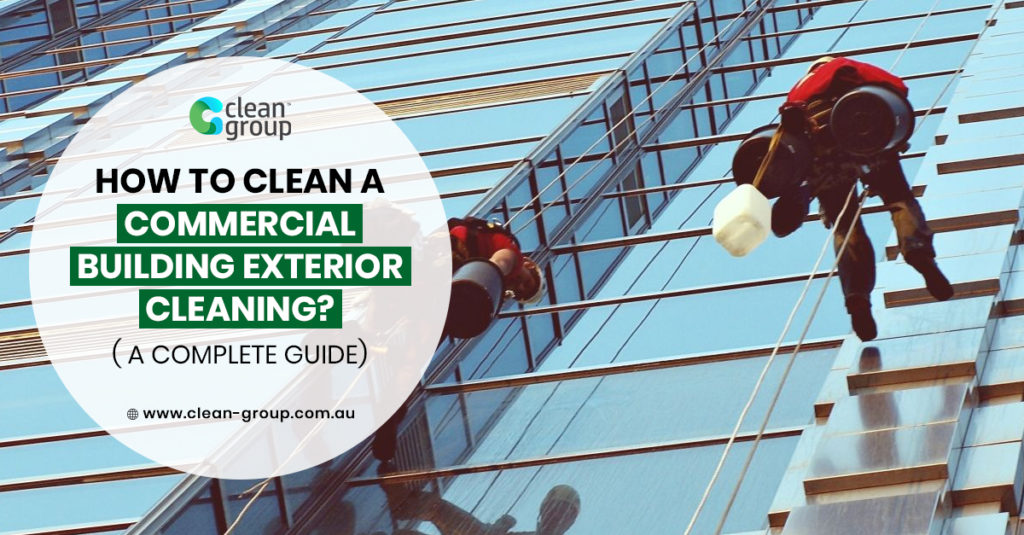
How to Clean a Workplace Building Exterior Cleaning? ( A Complete Guide)
Commercial building exterior cleaning is often overlooked and not done well. This does not mean it should be ignored, just...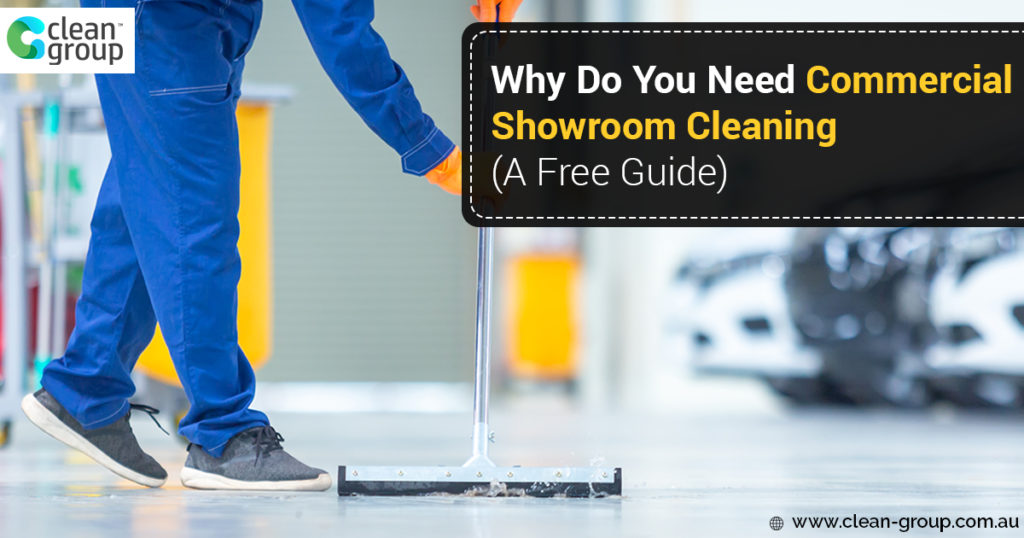
Why Do You Need Showroom Cleaning (A Free Guide)
Most people would never even think about the need for showroom cleaning, but it's one of the most important tasks...![Showroom Floor Polishing [The Ultimate Cleaning Guide]](https://fd2a312c.delivery.rocketcdn.me/wp-content/uploads/2021/10/Commercial-Showroom-Floor-Polishing.jpg)
Showroom Floor Polishing [The Ultimate Cleaning Guide]
What's the best way to polish a showroom floor? It all depends on what type of flooring you have. There...![Trucks Cabin Disinfected for Covid-19 [New Step-By-Step Guide]](https://fd2a312c.delivery.rocketcdn.me/wp-content/uploads/2021/09/Trucks-Cabin-Disinfected-for-Covid-19-1.jpg)
Trucks Cabin Disinfected for Covid-19 [New Step-By-Step Guide]
Covid-19 is a virus that has been spreading around the country and most recently in our area. It is transmitted...
How to Disinfect Treatment Rooms for Covid 19? (Step by Step Guide)
This blog post is for anyone who has been tasked with disinfecting a treatment room. It will provide guidelines for...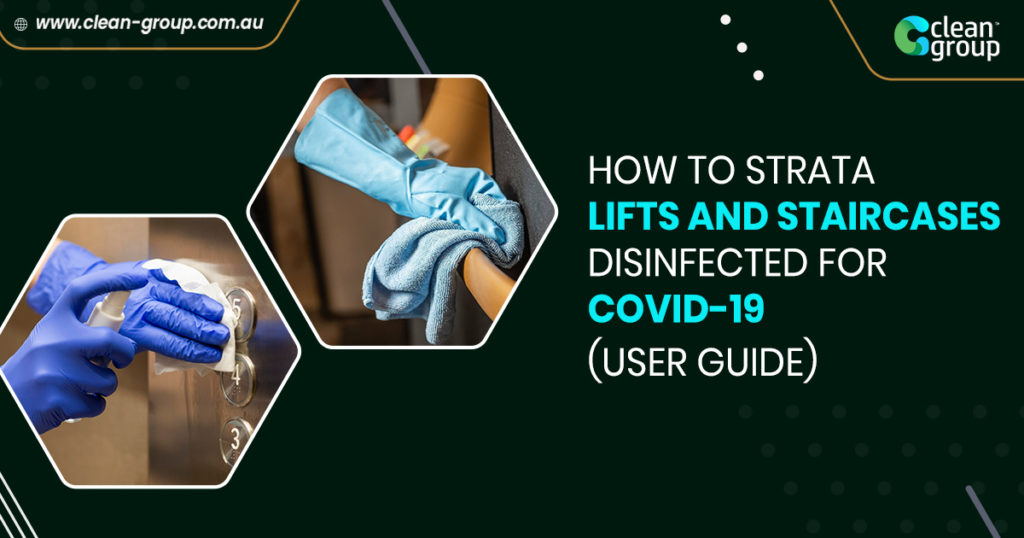
How to Strata Lifts and Staircases Disinfected (User Guide)
What is COVID-19? It's a virus that can cause serious illness and death. If you live in an area where...
How Can You Disinfected Strata Foyers for Covid-19 (The Ultimate Guide)
If you're concerned about the recent outbreaks of COVID-19 and want to know how to disinfect your strata foyers for...![How to Strata Exterior Areas Dsinfected for Covid-19 [Starter Guide]](https://fd2a312c.delivery.rocketcdn.me/wp-content/uploads/2021/09/How-to-Strata-Exterior-Areas-Dsinfected-for-Covid-19-1.jpg)
How to Strata Exterior Areas Dsinfected for Covid-19 [Starter Guide]
It's important to know how to disinfect your strata exterior areas when COVID-19 is in the area. This blog post...![How to Disinfected Equipment for Covid-19 [Beginner’s Guide]](https://fd2a312c.delivery.rocketcdn.me/wp-content/uploads/2021/09/How-to-Disinfected-Equipment-for-Covid-19-Beginners-Guide-1.jpg)
How to Disinfected Equipment for Covid-19 [Beginner’s Guide]
It's not a good idea to share your toothbrush with someone else. But what about your phone? Your shoes? Your...Contact Us
Do you wish your cleaners were more forthcoming and had a positive