You can read here many helpful articles related to commercial cleaning, latest cleaning news in Australia, including how to find and hire the best cleaners in your budget, how to train a commercial cleaner, why hire a cleaner over doing it yourself, cleaning tips for a specific area like supermarket, retail store, data centre, pub & restaurants, hospitals, factories, buildings, and more.
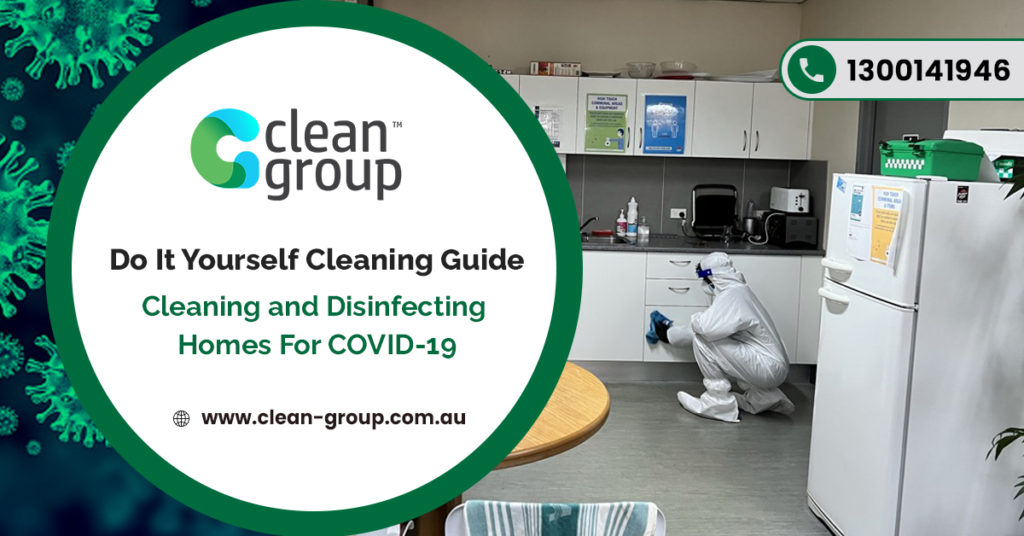
Do it Yourself Cleaning Guide: Cleaning and Disinfecting Homes For COVID-19
The Covid-19 pandemic has changed the way we all live! Contact with respiratory droplets formed when infected individual sneezes or...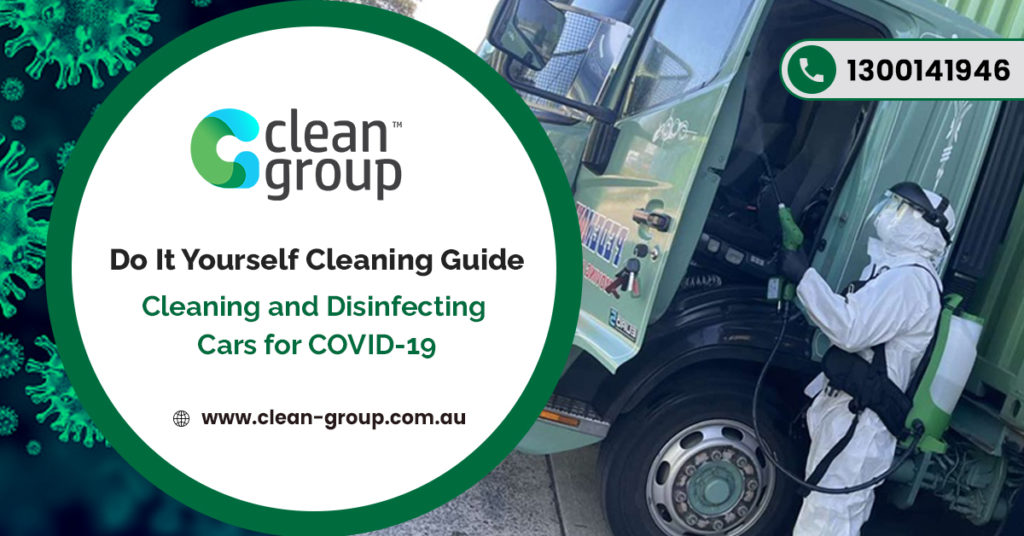
Do It Yourself Cleaning Guide: Cleaning and Disinfecting Cars for Covid-19
Disinfecting your hands with an alcohol-based hand sanitiser or water and soap has been vital in preventing the spread of...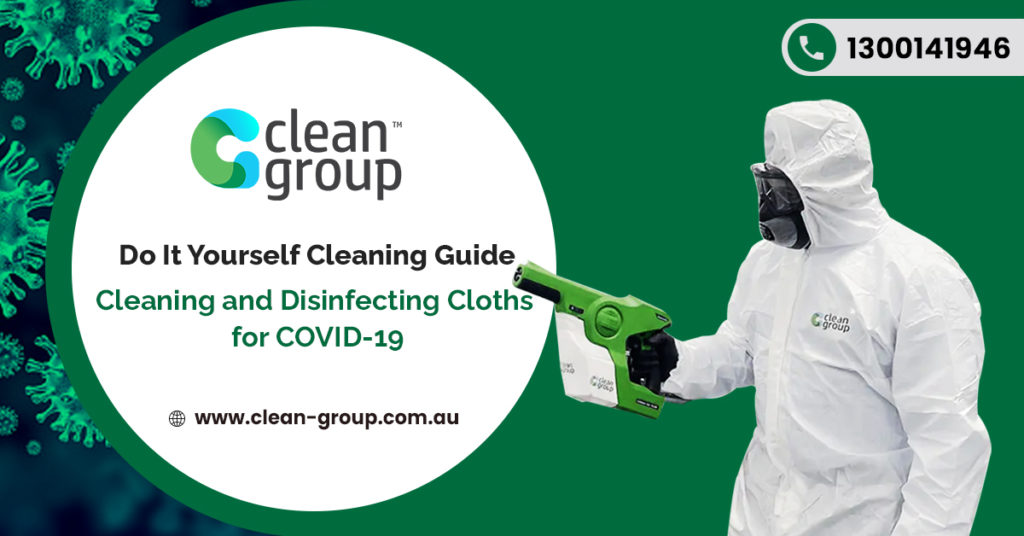
Do It Yourself Cleaning Guide: Cleaning and Disinfecting Cloths for Covid-19
While the COVID-19 pandemic is slowly getting better thanks to the effort of medical professionals worldwide, we still have a...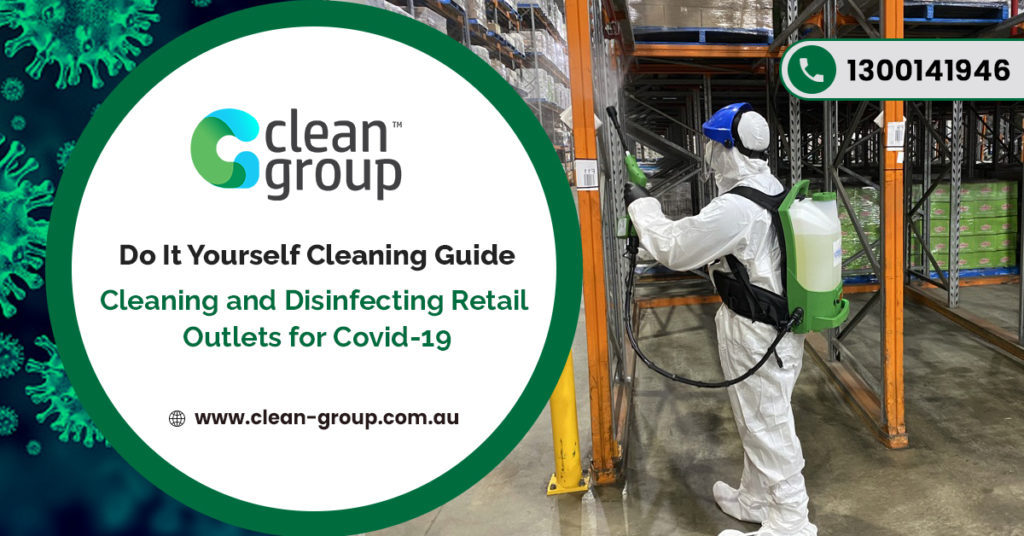
Do It Yourself Cleaning Guide: Cleaning and Disinfecting Retail Outlets for Covid-19
COVID-19 has put a whole new emphasis on the importance of regular DIY cleaning for staff members in all kinds...
Do It Yourself Cleaning Guide: Cleaning and Disinfecting Medical Centres for Covid-19
COVID-19 has had much of the world in its grips for the last two years, and many still find themselves...
Do It Yourself Cleaning Guide: Cleaning and Disinfecting Gyms for COVID-19
Even though some COVID-19 restrictions have been decreasing, the pandemic isn't over yet. Hence, we must keep protecting ourselves and...
Do It Yourself Cleaning Guide: Cleaning and Disinfecting Childcare Centers for COVID-19
Childcare centres have an admirable job, which is providing for early stimulation and education to our children. However, just like...
How to Fight Omicron With COVID Cleaning Services in Sydney
COVID-19 primarily spread in two ways, through close contact with an infected person and through contact with an infected surface....What is COVID Cleaning Services In Sydney? [COVID-19 Disinfection Services Explained]
Effective professional COVID 19 cleaning services should be safe and reliable. Cleaning services should employ only trained professionals that know...How to Hire COVID Cleaning Services in Sydney [For Return To Work]
As the COVID pandemic spreads, many Sydney residents are looking for ways to protect themselves and their families from the...
Sydney Gets Its Seventh Omicron Case, Covid-19 Cleaning Recommended for All Business Premises
Nsw Gets Its Seventh Omicron Case A new COVID-19 case has been reported in southwest Sydney, which takes the total...Sydney Covid Update: Omicron Covid-19 Variant Reaches NSW, Clean Group CEO Warns Businesses.
Omicron is the name given to the latest mutant of the much-dreaded COVID-19 virus. It has been said to be...
Complete Guide on Business Cleaning Jobs in Australia – Everything a Person Must Know
Offices are everywhere in Sydney NSW and throughout Australia. They provide jobs to thousands of residents. Overall, the employees trust...Complete Guide on Commercial Cleaning Procedures – Everything a Cleaner Should Know
There are many different areas in a commercial building, and each one has specific ways to clean it. Some spaces...
Complete Guide to Workplace Cleaning Supplies
The cleaning industry is booming right now, and it requires the company in Australia to have high-quality commercial cleaning supplies....Contact Us
Do you wish your cleaners were more forthcoming and had a positive