How to Steam Clean a Carpet in Five Simple Steps
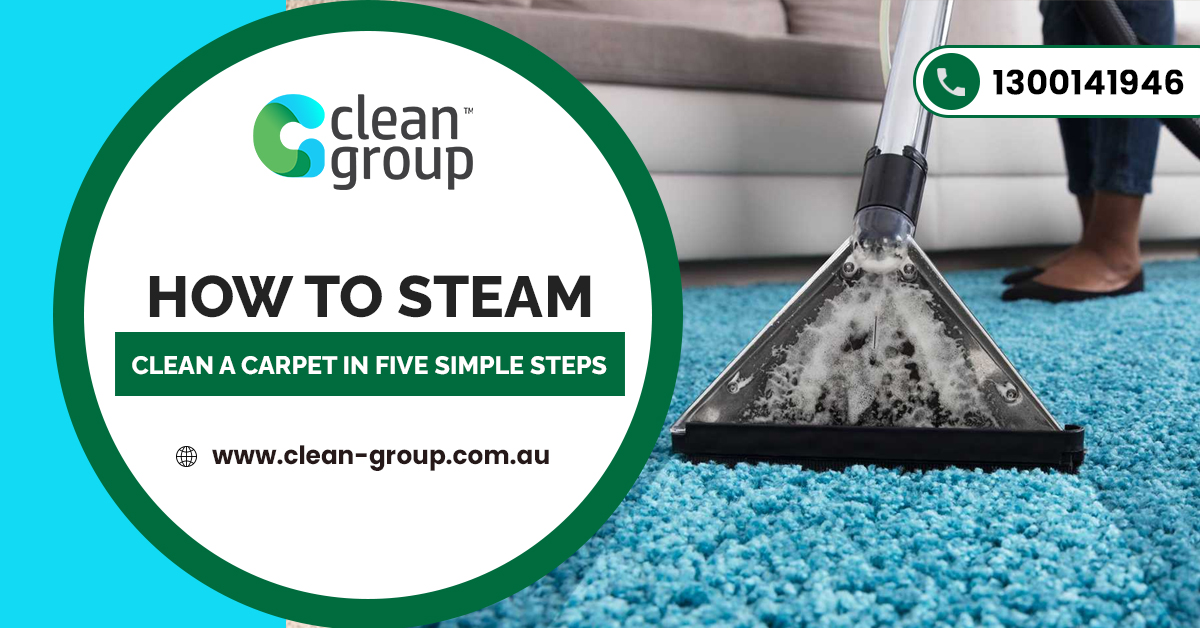
Carpets and rugs add warmth and personality to a home, not to mention extra comfort and style. Unfortunately, they do not sta...
You can read here many helpful articles related to commercial cleaning, latest cleaning news in Australia, including how to find and hire the best cleaners in your budget, how to train a commercial cleaner, why hire a cleaner over doing it yourself, cleaning tips for a specific area like supermarket, retail store, data centre, pub & restaurants, hospitals, factories, buildings, and more.
Carpets and rugs add warmth and personality to a home, not to mention extra comfort and style. Unfortunately, they do not sta...
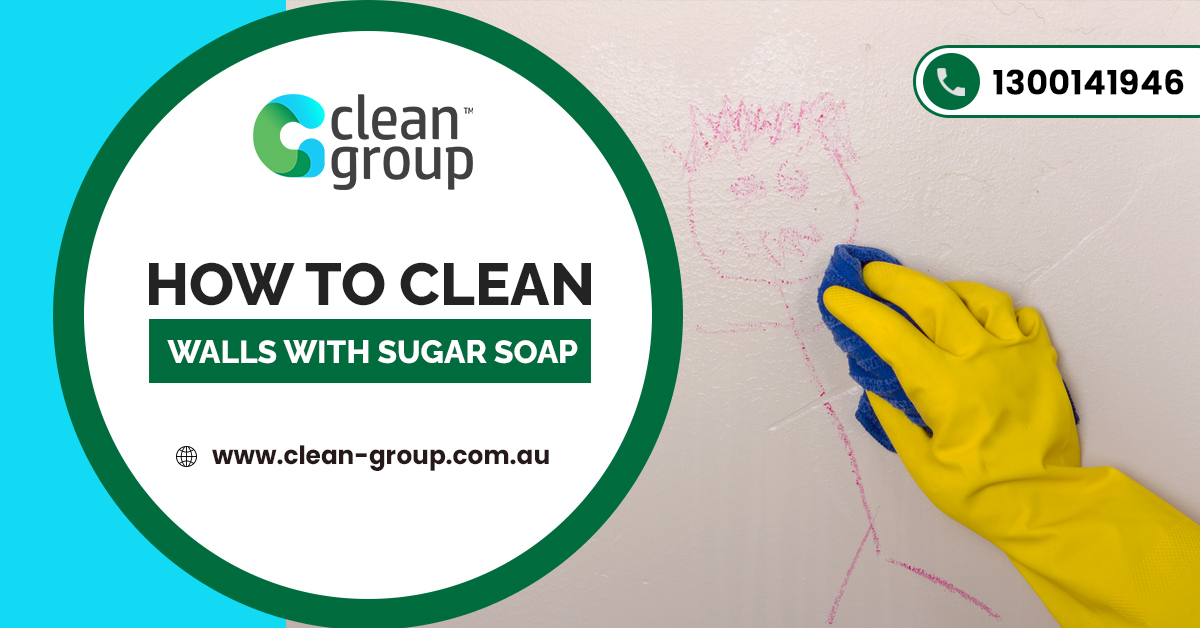
There's nothing worse than old, stained basement walls. Having an old wall somewhere in the house feels like a rotten tooth i...
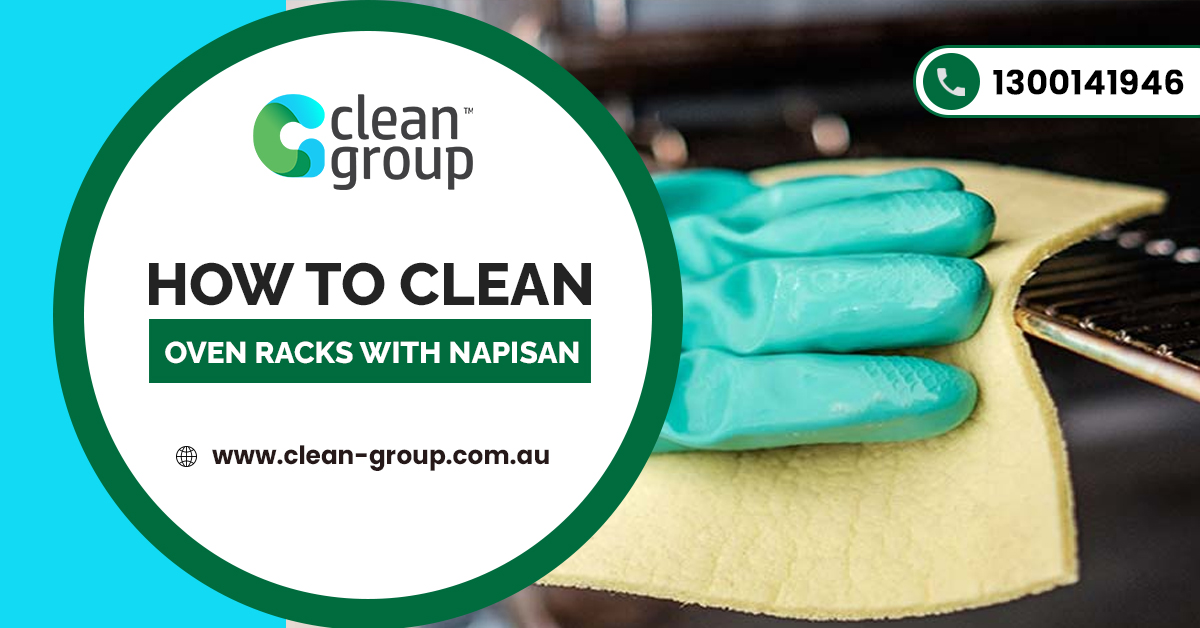
Cleaning the kitchen can be a nightmare itself, not to mention when you have a greasy and oily oven that awaits its turn on t...
At home or in the office, sometimes we bring in things from the outside, and sometimes our wet socks and shoes do more than j...
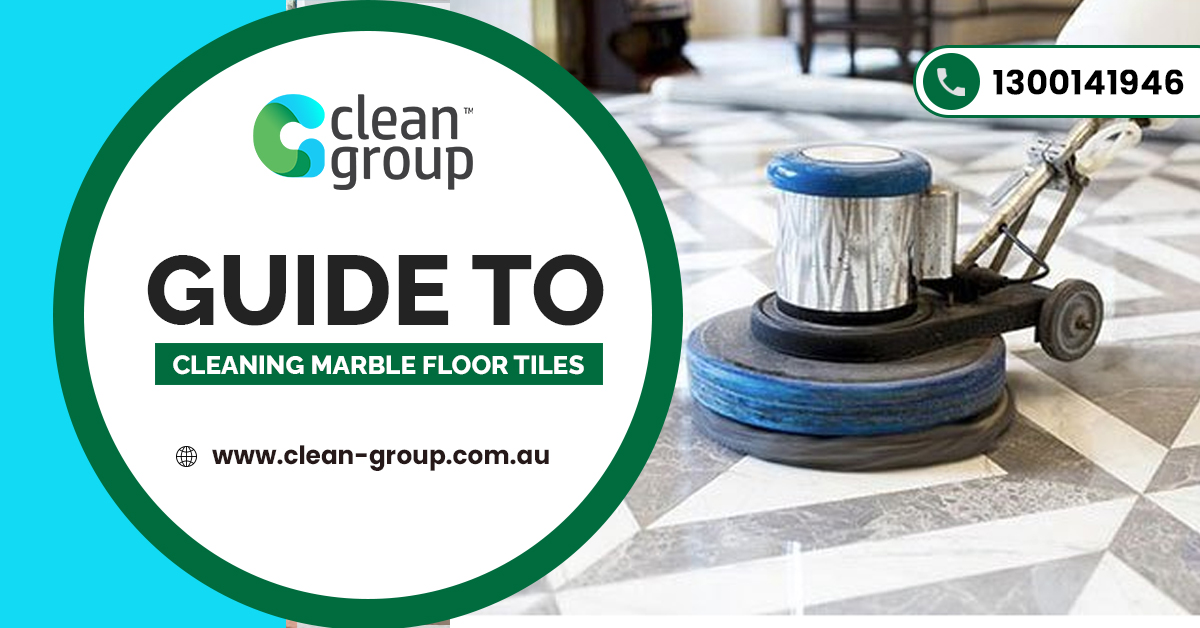
Marble is a form of décor and stone with a high-end appearance; it's no wonder why so many try to do their best when it come...
The demand for house cleaning services across Australia is as high as ever. People with the room in their household budget ar...
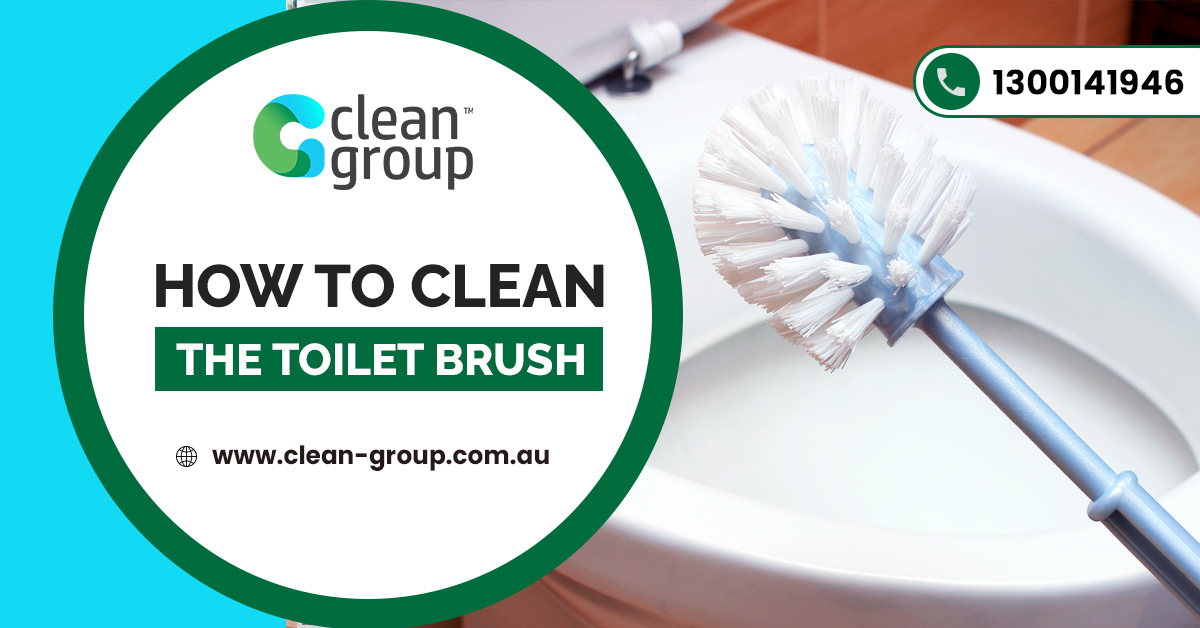
The toilet brush is one of the frequently forgotten items in people's bathrooms. Since it's what you use to clean the toilet...
Although some people only have curtains to stop sunlight from getting to their houses, no one wants dirty curtains ruining th...
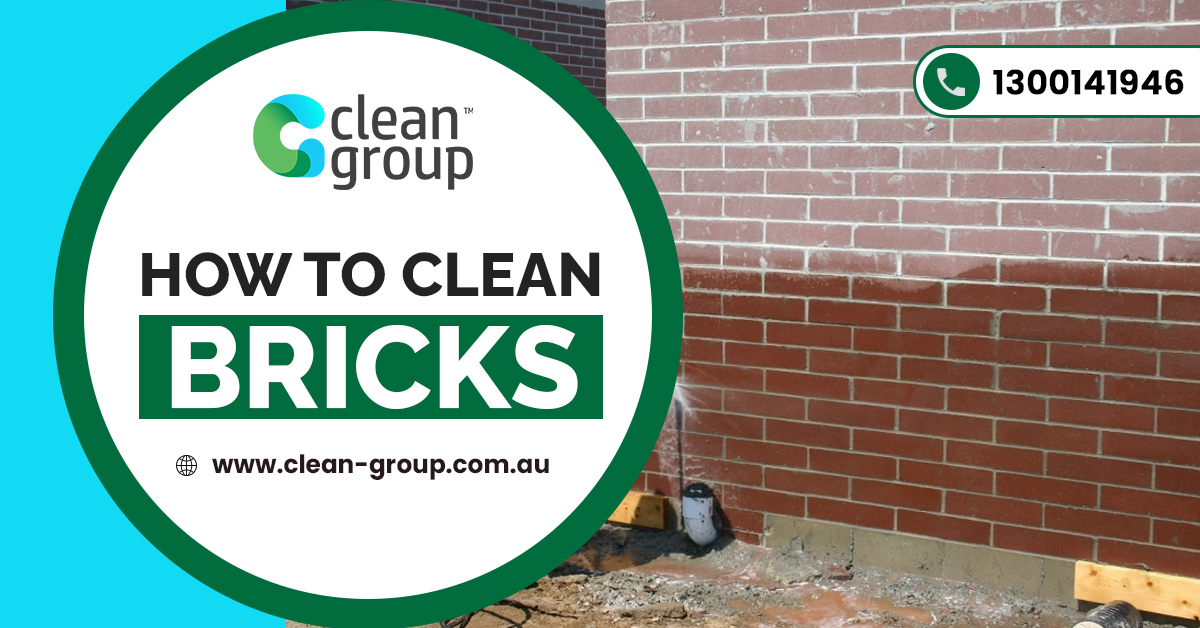
Whether you have exterior or interior bricks, they can make your household or office building feel warmer than ever. They are...
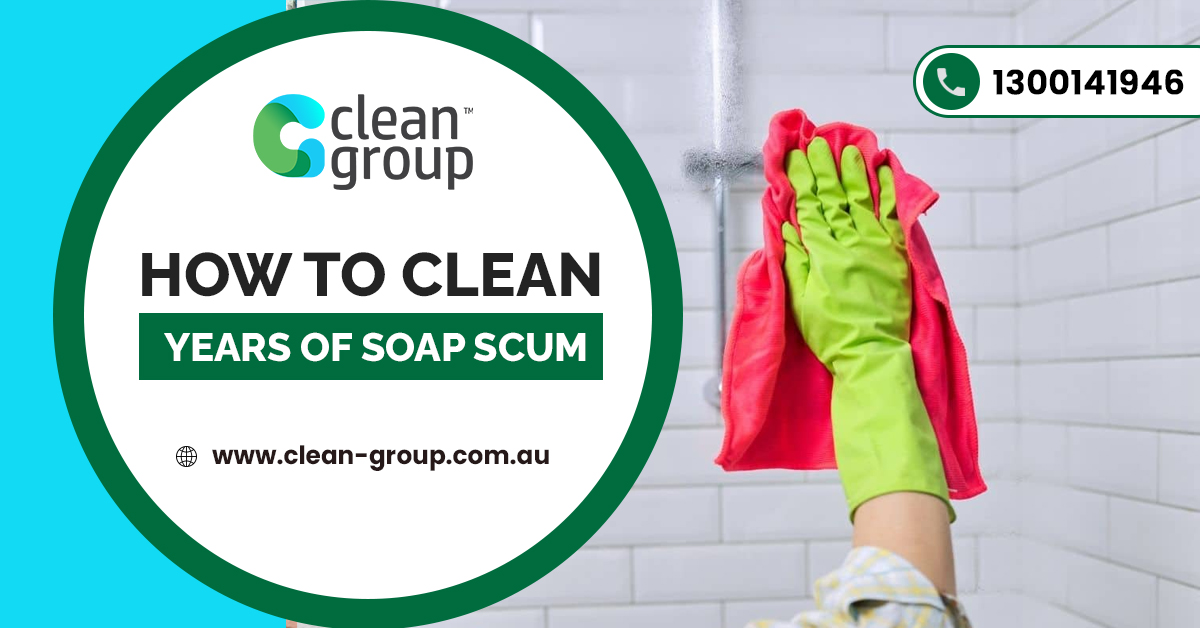
Are you tired of taking a bath and constantly seeing water lines or that residue that you've tried countless times to try a w...
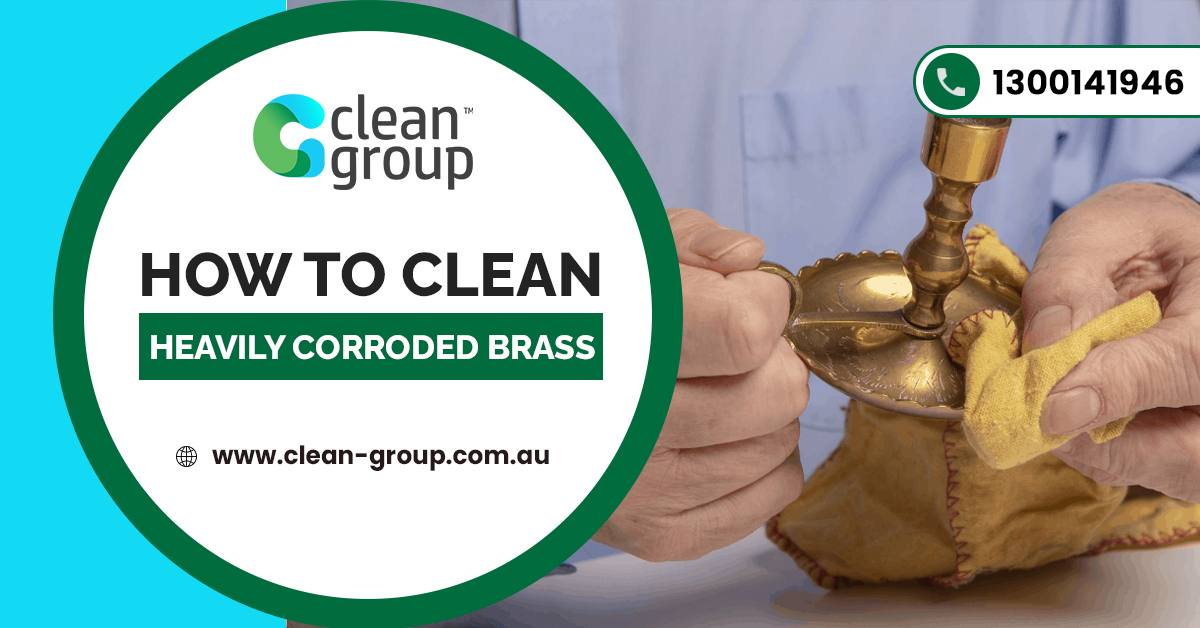
Brass has long been a favourite metal for homes, especially on doorknobs, lamps, and decorative hardware. It looks classy, el...
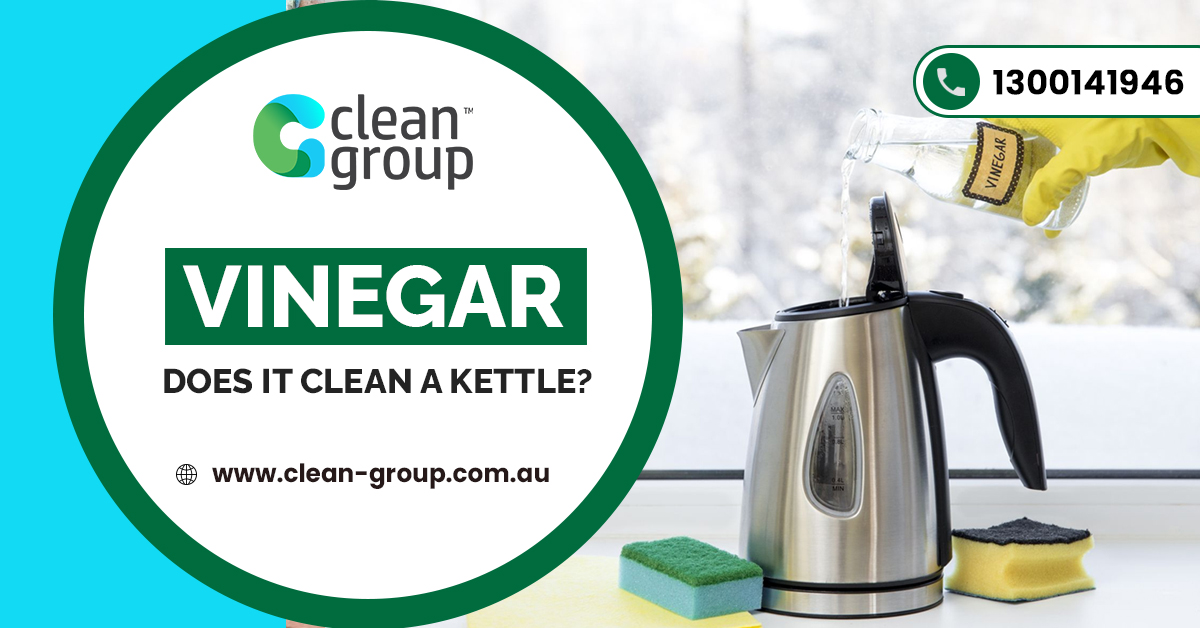
It’s essential to clean your kettle every so often. This is because it can have limescale build-up inside. However, don’t...